
Outdoor Products perfect for any DIY'er, No Tradies needed!
Weather Proof - Water Proof - Heat Proof
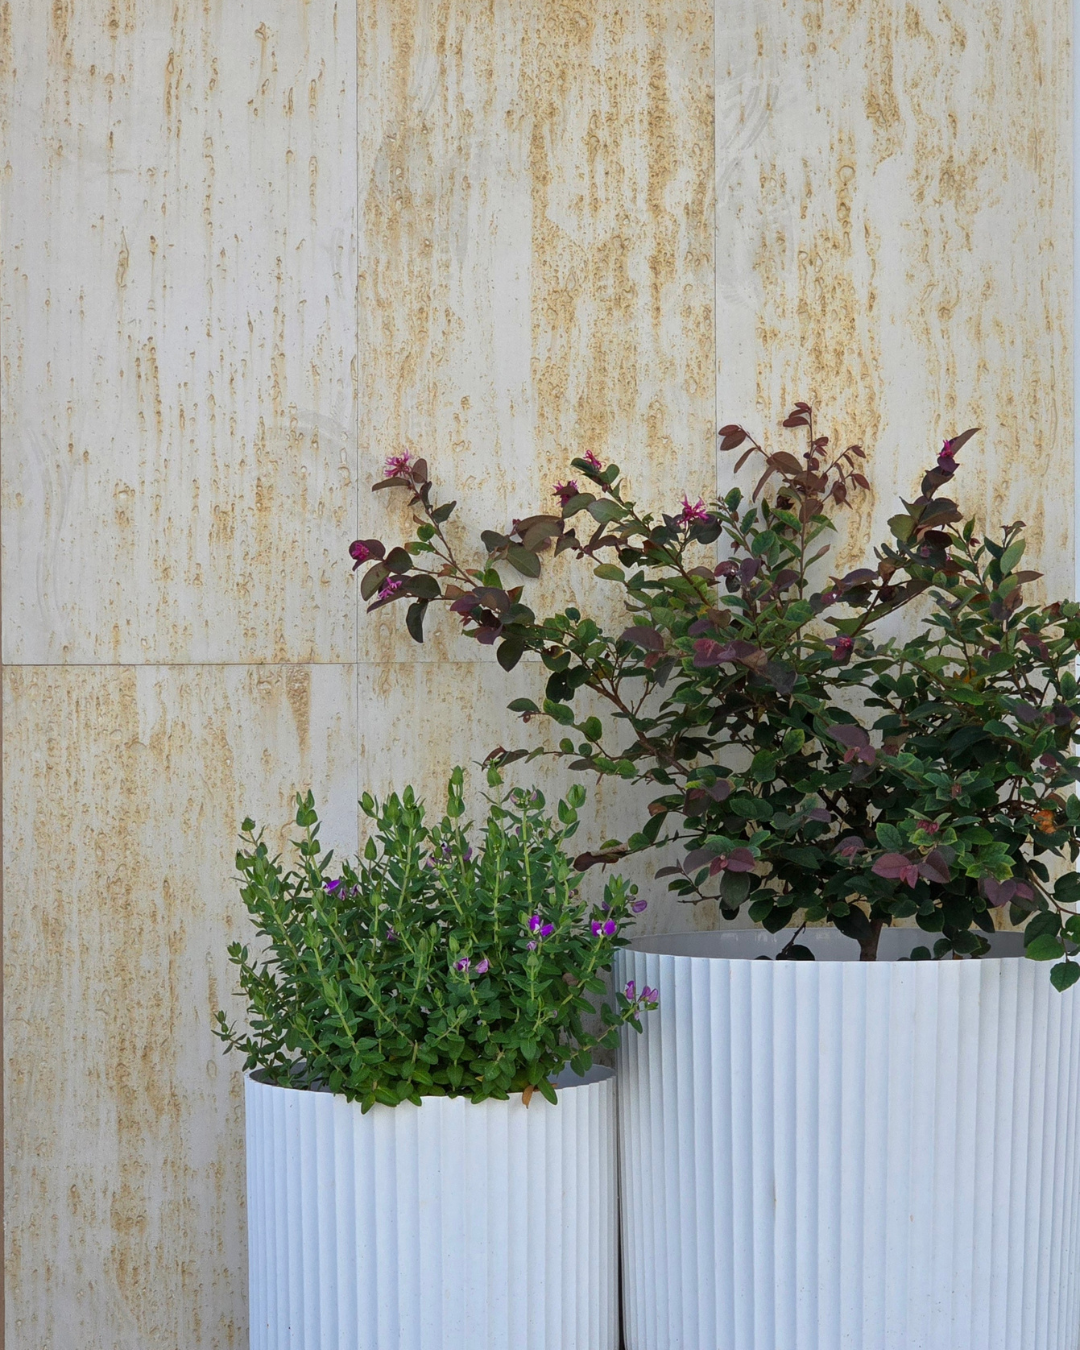
Installation Guide - Soft Stone & Brick Facings
Why Wait? Transform Your Outdoor or Indoor Space Today
-
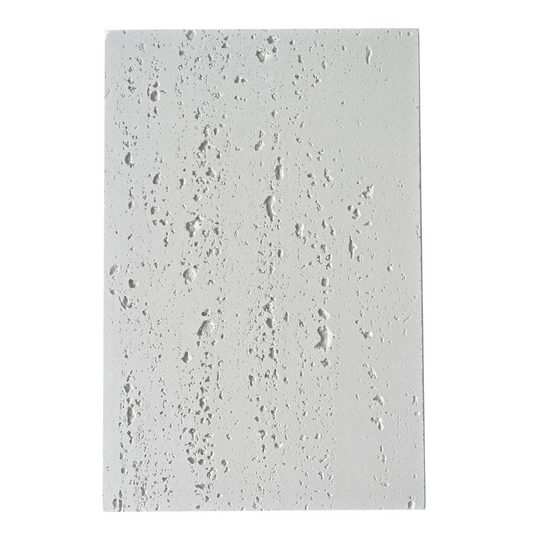
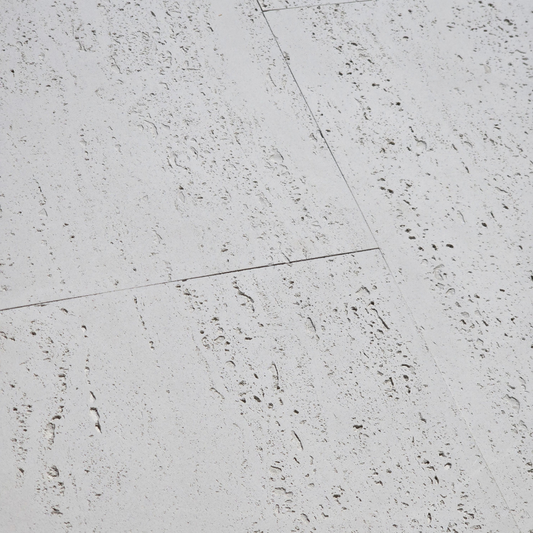
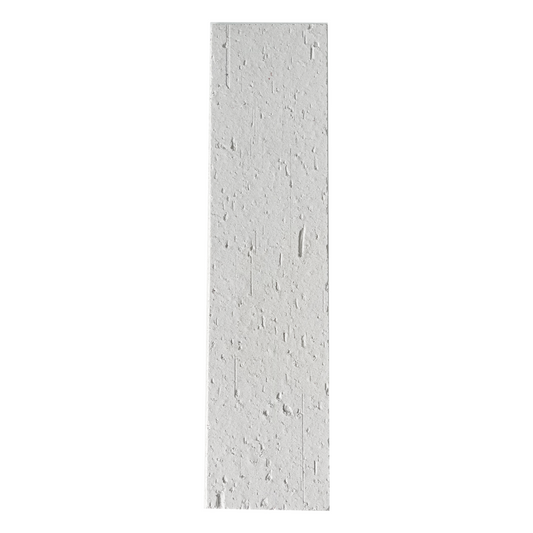
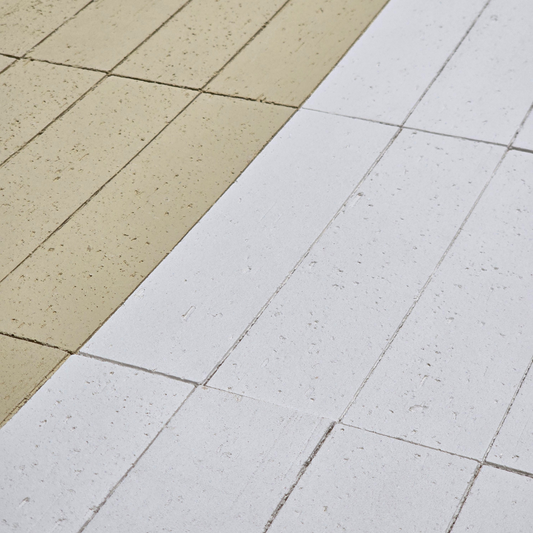
Soft Stone Travertine - White
Regular price $15.00 AUDRegular priceUnit price per -
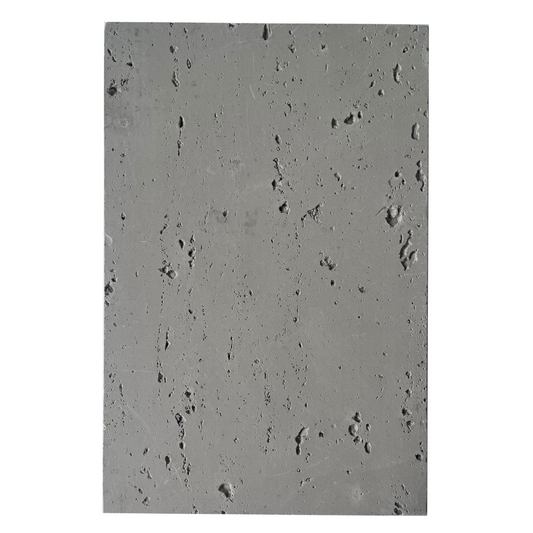
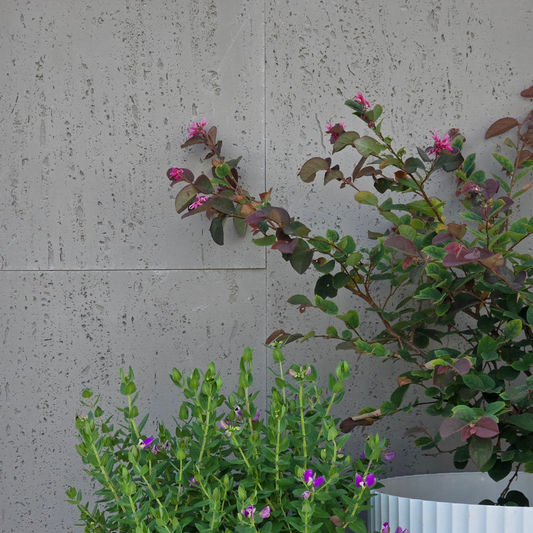
Soft Stone Travertine - Grey
Regular price $15.00 AUDRegular priceUnit price per -
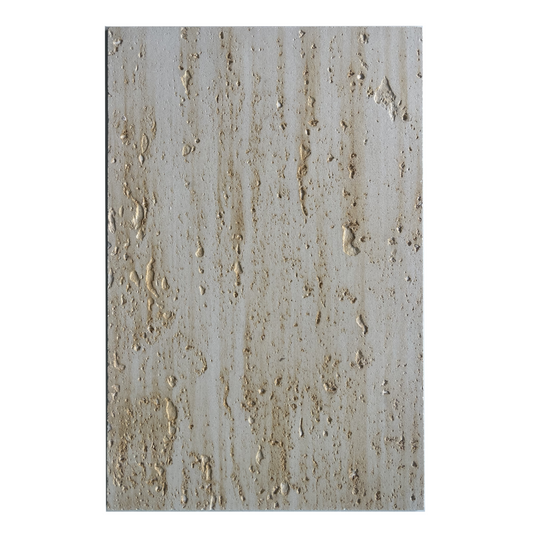
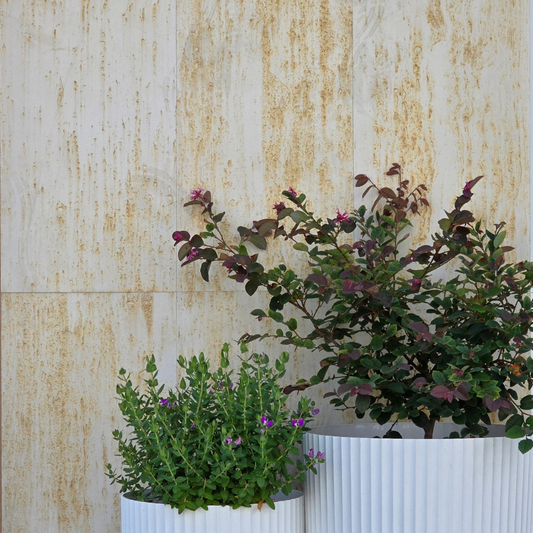
Soft Stone Travertine - Beige
Regular price $15.00 AUDRegular priceUnit price per -
Flexible Brick Facing - White
Regular price $1.25 AUDRegular priceUnit price per
Visit us in Brisbane to explore our range, or browse our collection online today. Let’s make your kitchen makeover dream a reality!
See what our recent customers have said about our products and get inspired!
Let customers speak for us

Product is excellent and customer service outstanding.

Thank you, excellent to deal with and love the stick on tiles. Would buy again 😊
Love the look of these tiles- really happy with them. Had a little trouble getting the backing off many of them but worth the effort

Very happy with the product. Looks great and easy to apply! Fast delivery.
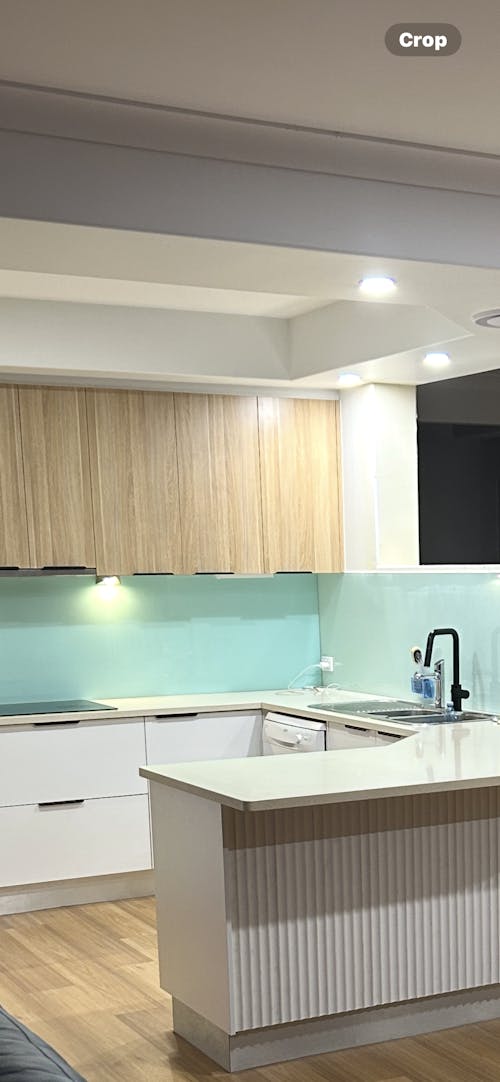
Finally! A product that has been able to hide an ugly colour glass splashback. This is the perfect product we’ve been searching for for so long. Thankyou Jake for all your help.

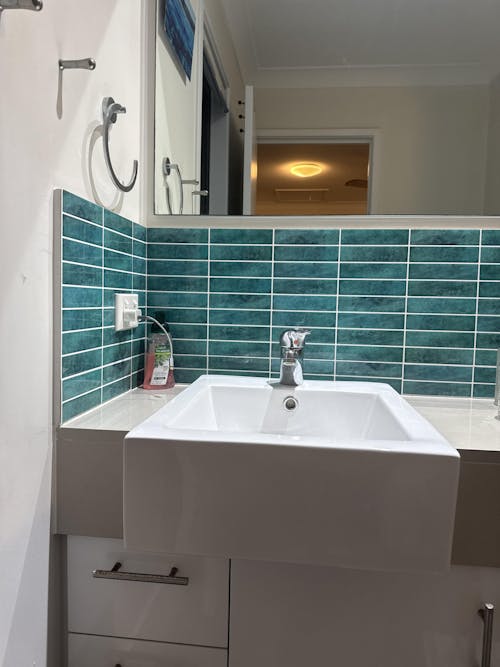
Subway Stick on Tile - Navy Blue

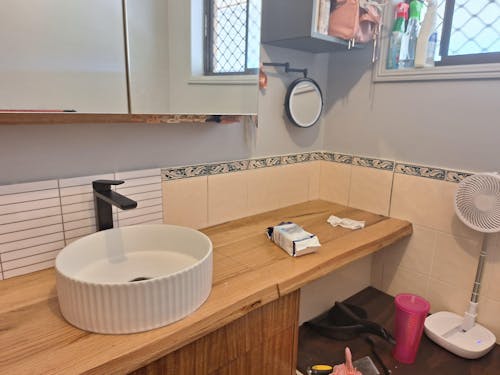
Wanted a vintage look with easy installation.
Bought these and cut the points off the base to give them a more scallop look.
Easy to install, heavy sticky backing giving them a secure fixing to the wall.
Nice thickness, a quality item.
Would recommend.

Got a selection of samples to help decide, great to get an idea of the look of the different styles

I love these stick on tiles are beautiful they’ve transformed my ensuite and they are a great price. Easy to install and the design and colour is lovely. Looks exactly as the photo

Such a pleasure to have great products and with brilliant Service, delivery was earlier than expected, WONDERFUL WORK, THANKS.
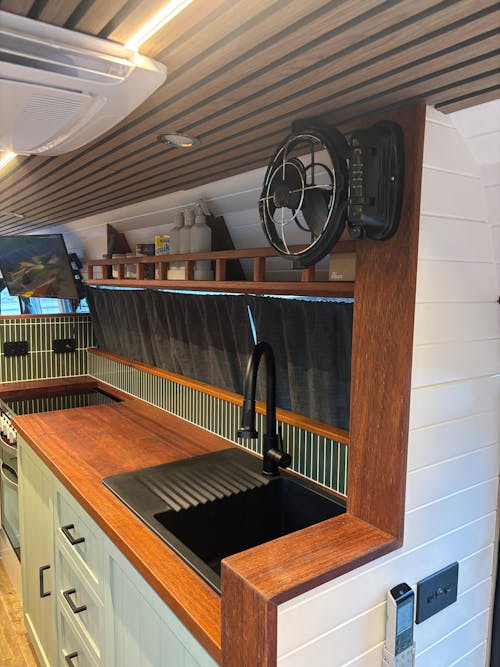
We recently decided to upgrade the look of our self built 1997 Toyota Coaster motorhome conversion and the kit kat stick on tiles in moss green tied together our “green” theme perfectly. The installation process was seamless, the adhesive is strong and durable, the tiles look realistic and the colour is vibrant. We have received so much positive feedback from friends and family on the tiles. The customer service is quick, friendly and reliable. We can tell our stunning green tiles are going to last and we couldn’t recommend them enough.
Updated my bathroom with new fixtures, vanity, etc so I had to do something about the out of date tiles. These tiles were awesome to work with, and modernized my bathroom big time! And the customer service was great too!

Great team who has assisted me with many queries.

Super helpful with my inquiry, super easy to order and pay. Super fast delivery, will definitely purchase again when I begin next project. Thanks heaps, very happy.

.
Other Tile Styles
-

Herringbone Tiles
Explore our range of the classic Herringbone, now back on trend and...
-
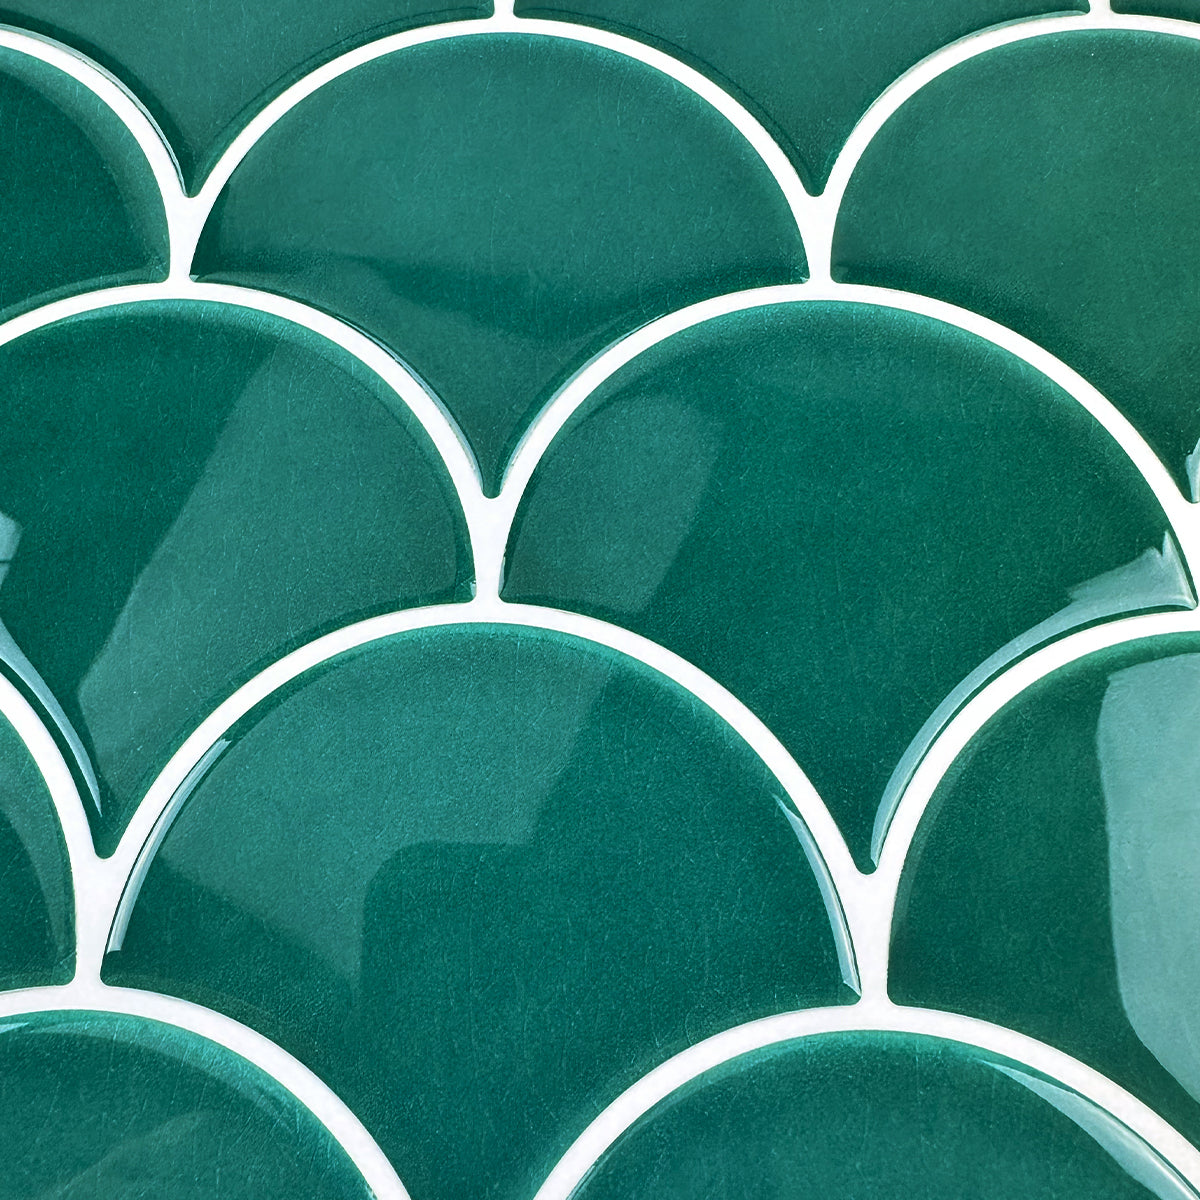
Fish Scale Tiles
Fish scale tiles are timeless yet playful, allowing you to create an...
-
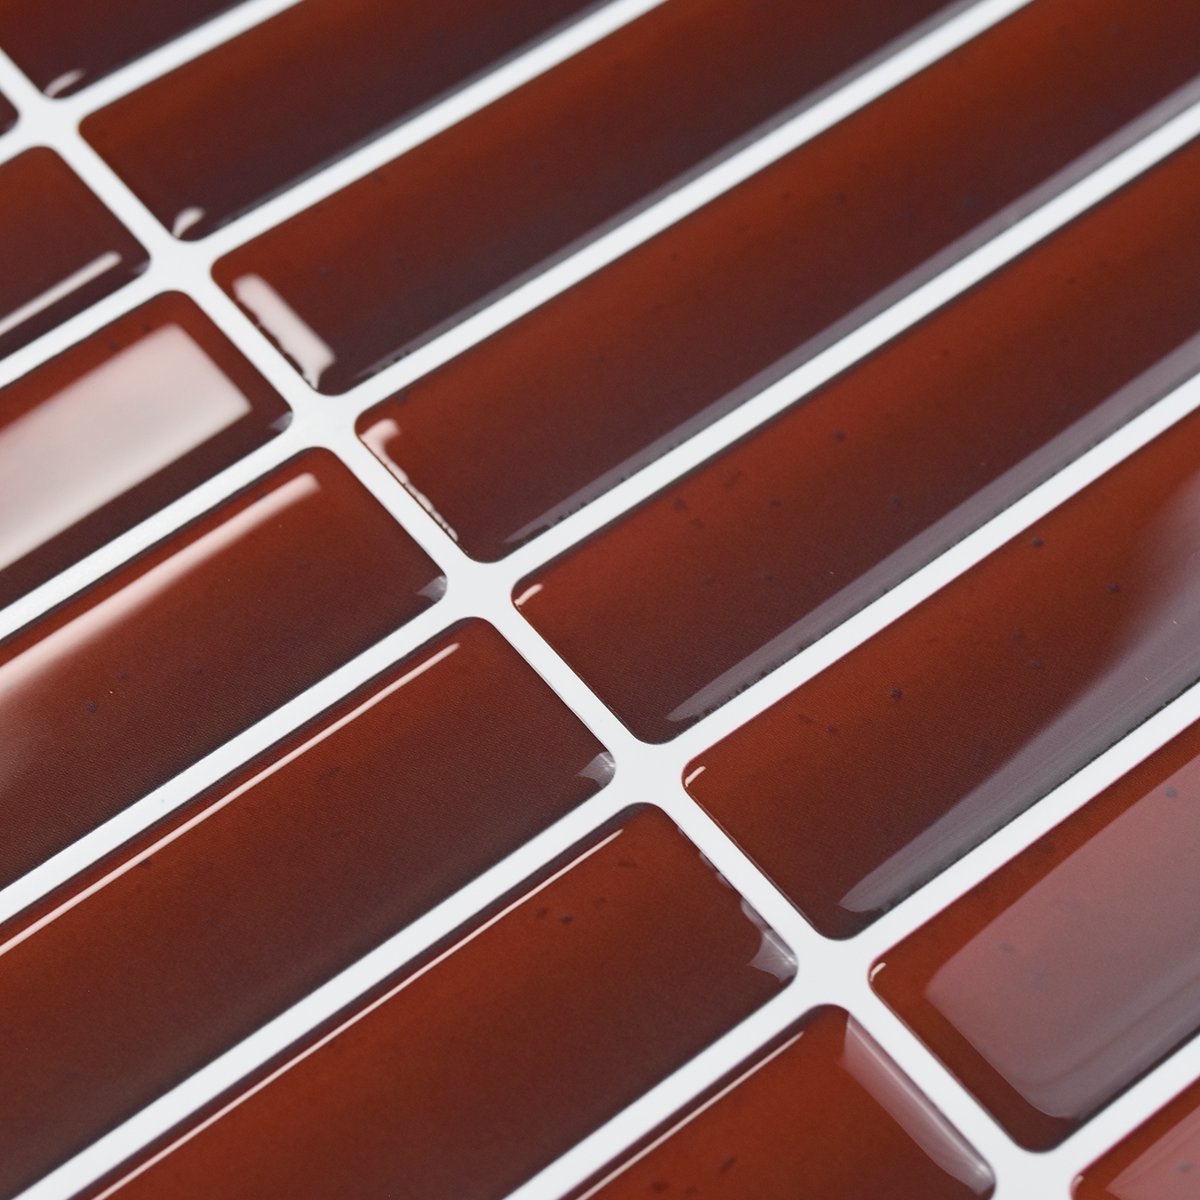
Kit Kat Tiles
Who doesn’t love a Kit kat? Their long and thin appearance captivates...


