
Installation Guide - Vinyl & Composite Stick on Tiles
Step by Step Guide
-
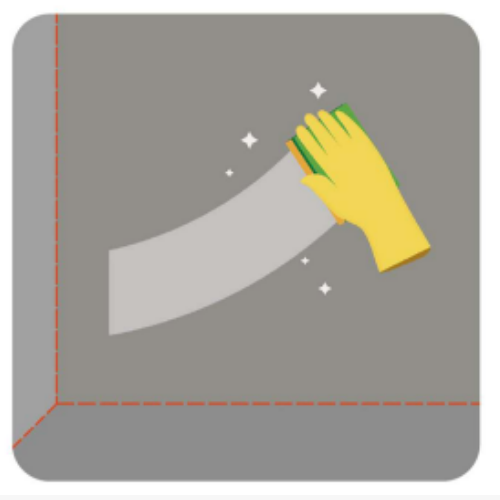
Step 1 - Clean the Surface
To ensure the tile adhesive
sticks to your projects surface wipe the area clean with a gentle cleaning agent to remove any dirt, dust or debris. Wait for the area to be touch dry before proceeding to the next step. -

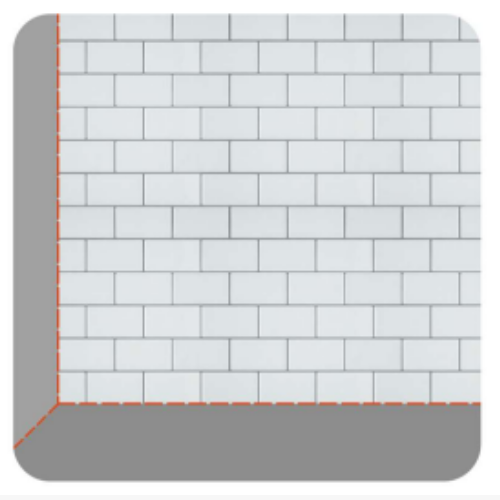
Step 2 - Measure
Measure your space to confirm
you have the right number of sheets for your project. This is the step where you can play around with the placement and direction of your tile. -
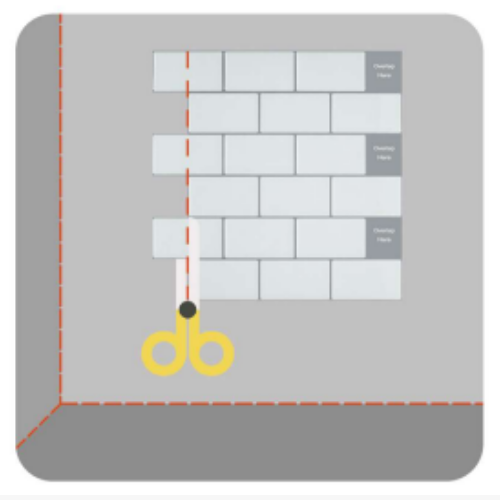
Step 3 - Cut First Tile Sheet
This is where those extra
sheets come in handy, measure twice cut once! It's always best to start with a straight line closest to the corner of the wall and work to the opposite side for a clean and consistent look. -
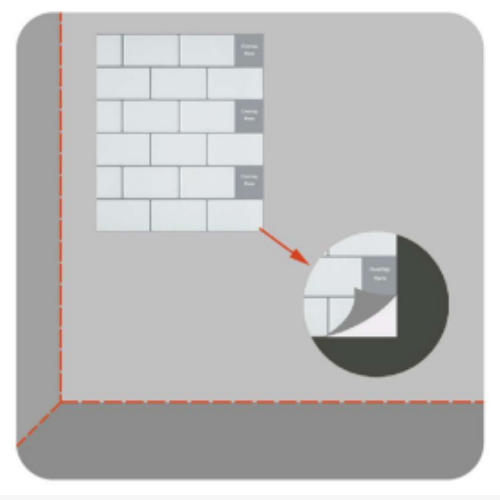
Step 4 - Remove Adhesive Film
Gently peel back the film and place the tile sheet on the wall. Ensure you align the bottom and side of the sheet into corners for a clean line. Once applied use your hand to firmly press sheet onto the wall for optimum adhering.
-
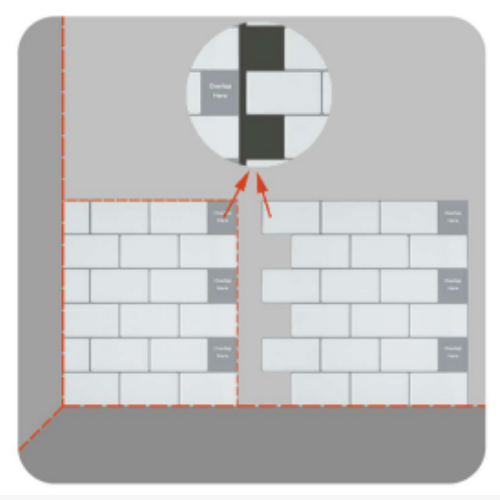
Step 5 - Align Second Tile
Continue applying each tile sheet matching the pattern you've chosen with the grout lines for a seamless finish. Keep any off cuts for the end of the project to fill gaps or smaller spaces.
-
Step 6 - Finish Tiling Wall
For an even more pristine finish apply an all purpose silicone to match the grout colour on all the edges. Then stand back and admire your work. Don't forget to take plenty of photos and share!
#stickontiles


Other Tile Styles
-

Herringbone Tiles
Explore our range of the classic Herringbone, now back on trend and...
-

Fish Scale Tiles
Fish scale tiles are timeless yet playful, allowing you to create an...
-
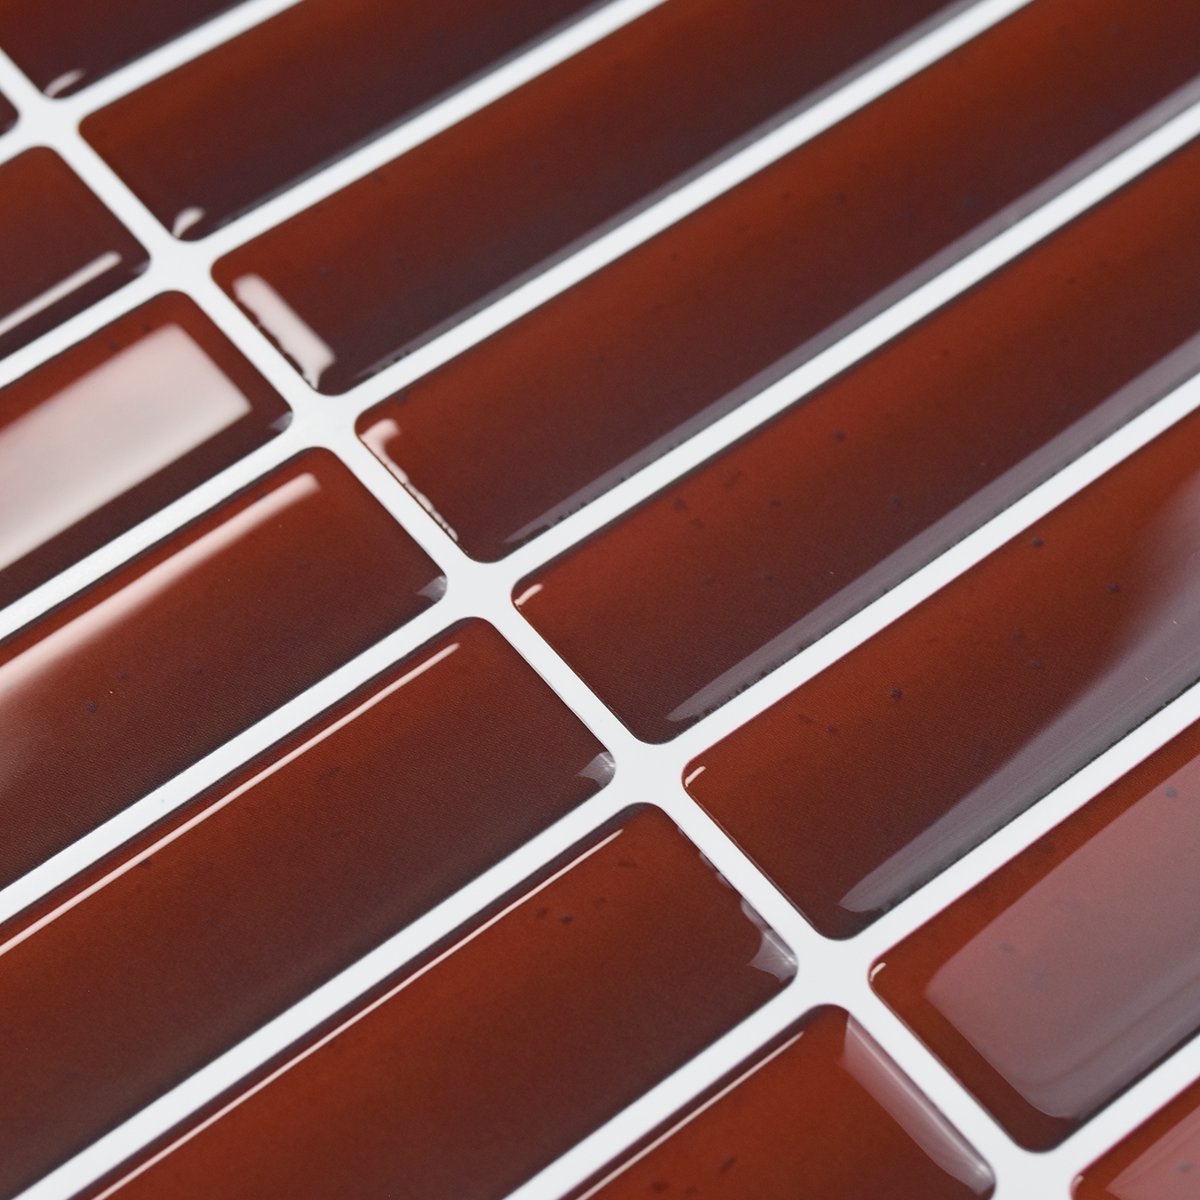
Kit Kat Tiles
Who doesn’t love a Kit kat? Their long and thin appearance captivates...


